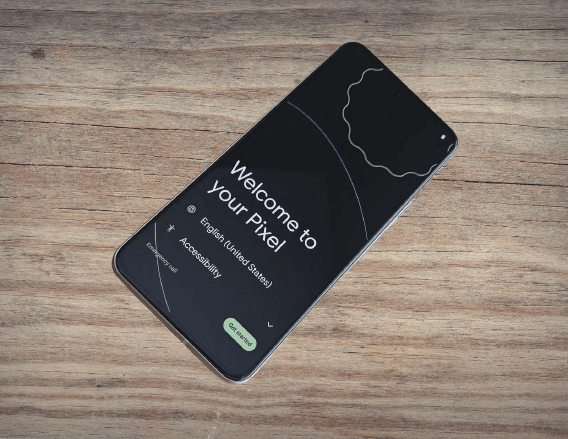
Whether you’re unboxing your very first Android phone or upgrading to the latest model, setting it up the right way ensures a smooth, personalized experience from the start. This interactive guide walks you through every step with clear instructions, visuals, and pro tips.
🛠️ Step 1: Start Your Android Journey
🟢 Action:
Tap the Power button and follow the on-screen instructions.
✅ Select language
✅ Connect to Wi-Fi
✅ Agree to terms & conditions
💬 “Connected to Wi-Fi? Great! Let’s move to the next step.”
➡️ Go to Step 2
🔄 Step 2: Transfer Your Data
Choose whether you’re switching from another Android, iPhone, or starting fresh.
📲 Android to Android:
- Use a USB-C cable or Wi-Fi
- Follow prompts to copy apps, contacts, messages, etc.
🍏 iPhone to Android:
- Connect via cable OR
- Use Google Drive backup from your iPhone
🧠 “Want to skip data transfer? Tap ‘Don’t copy’ to move on.”
➡️ Go to Step 3
👤 Step 3: Sign In to Google
Log into your Google Account to unlock:
- Gmail, YouTube, Google Photos, Play Store
- Contacts and calendar sync
- Device backups
🔐 Enable 2-step verification for extra protection.
💡 Tip: You can add multiple Google accounts later under Settings > Accounts.
➡️ Go to Step 4
🔒 Step 4: Set Device Security
Pick your preferred screen lock:
- 📍 PIN
- 🔄 Pattern
- 🔑 Password
- 🔓 Face Unlock or Fingerprint (if supported)
✅ Set up biometric login
✅ Enable Find My Device (optional)
🔐 Your phone is now protected from unauthorized access.
➡️ Go to Step 5
🎨 Step 5: Customize Your Phone
Make your phone truly yours:
- Choose between Gesture Navigation or 3-Button mode
- Select Dark Mode or Light Mode
- Set wallpaper, fonts, ringtones
- Add widgets and organize apps
✨ Pro Tip: Long press the home screen to customize layouts and add widgets.
➡️ Go to Step 6
📲 Step 6: Install Essential Apps
Open the Play Store and install:
- Social: WhatsApp, Instagram, Telegram
- Video & Music: YouTube, Spotify, Netflix
- Payments: Google Pay, PhonePe, Paytm
- Tools: Google Maps, Drive, Microsoft Office
💬 “Enable auto-updates in Play Store Settings > Network Preferences.”
➡️ Go to Step 7
☁️ Step 7: Enable Cloud Backup
Never lose your data again. Go to:
Settings > Google > Backup
✅ Turn on “Backup by Google One”
✅ Include photos, messages, app data
📦 Backups occur daily over Wi-Fi when charging.
✅ Final Checklist
| Task | Status |
|---|---|
| Powered on phone | ✅ |
| Connected to Wi-Fi | ✅ |
| Transferred data | ✅/Optional |
| Signed into Google | ✅ |
| Set up security | ✅ |
| Installed essential apps | ✅ |
| Enabled cloud backups | ✅ |
🎉 You’re all set! Your Android phone is ready for action.

